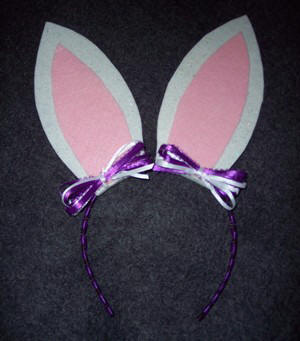
Rabbit Ears Headband
This Easter craft is fun for adults to make and fun for kids to wear.
Materials:
- Thin plastic headband
- Stiff white felt*; 1 sheet
- Pink felt*; 6" sq
- Purple and white ribbon 1/4" to 1/8" wide
- Hot glue gun
*Craft foam can be used in place of felt if desired.
- Attach the purple ribbon to one of the inside ends of he headband with hot glue.
- Wrap the ribbon around the headband. When you get to the other end, glue the ribbon to the inside edge. Cut off any extra ribbon.
- Trace and cut out two ears from the stiff white felt. The felt we used had glitter on it but that is optional.
- Lay one of the ears right side down on your work surface. Lay the headband on top of the ear so that the edge of the ear is close to the center of the headband. Fold the bottom of the ear up and over the headband and glue in place as pictured.
- Repeat step #4 with the second ear.
- Trace and cut out two centers from the pink felt.
- Glue the centers to the front side of the ears using white glue or hot glue.
- Cut a 2" piece of white ribbon and place it on your work surface. Holding the white and purple ribbons together as one, wrap it around four of your fingers three times. Slide the lops off your fingers and tie the center of the loops securely with the 2" piece of ribbon you cut earlier. Repeat to make a second bow.
- Glue one bow at the base of each ear with hot glue.