Description
Create a pair of Holiday Mittens for your Christmas tree. Includes full size pattern, instructions for painting holly leaves, and instructions for completing the blanket stitch.
Materials and Supplies
Craft Supplies:
- 6" Square of felt
- Contrasting embroidery floss
- Needle & pins
- Fabric paint - green & red
Craft Instructions
- Trace and cut out four mitten shapes from felt.
- Pin two mitten pieces together and set aside. Pin the other two mitten pieces together.
- Using 3 strands of embroidery floss and the blanket stitch, sew the edges of one of the pined mitten sets. Start and finish this stitching at the corner farthest from the thumb.
- When you get to where you started, knot the floss and before cutting off the extra floss, slide the needle between the two layers and come out about an inch away - then cut floss close to where it came out of the mitten.
- Repeat step 3 with other pinned mitten set. Once you have gotten back to your start point, tie a single knot in the floss - then with the needle still threaded and attached to this mitten, connect it to the first mitten leaving approximately 8" of floss between them. Take one stitch in the first mitten then knot the same way you knotted off in step 4.
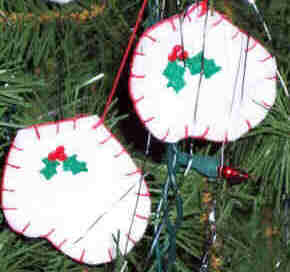
- Your pair of mittens looks great and can be used just like this but if you'd like, draw 2 holly leaves with the green fabric paint on each side of the mittens with 3 red dots of fabric paint where the leaves come together to create the berries. Be sure to let one side dry completely before painting the other side or you can paint them before you sew them together. Just be sure they are completely dry before sewing.
Now, hang your mittens on the tree using the string that connects them.
See printable page for instructions on the blanket stitch and how to paint holly leaves.