Description
If you like painting, you will enjoy making these scrumptious looking peppermint ornaments.
Materials and Supplies
Craft Supplies:
- 3 1/2" Paper Mache disk
- All purpose sealer *
- Acrylic paint - red & white
- Pink paint - either fabric paint in a squeeze bottle or acrylic paint
- Paint brush
- Thin ribbon
- Clear cellophane
*Can be found where acrylic paints are sold
Craft Instructions
- Paint the entire disk with all purpose sealer and let dry completely
- Paint the whole ornament white. It may be easier to paint one side and the edges, let dry and flip it over and paint the second side. Once completely painted, let dry thoroughly.
-
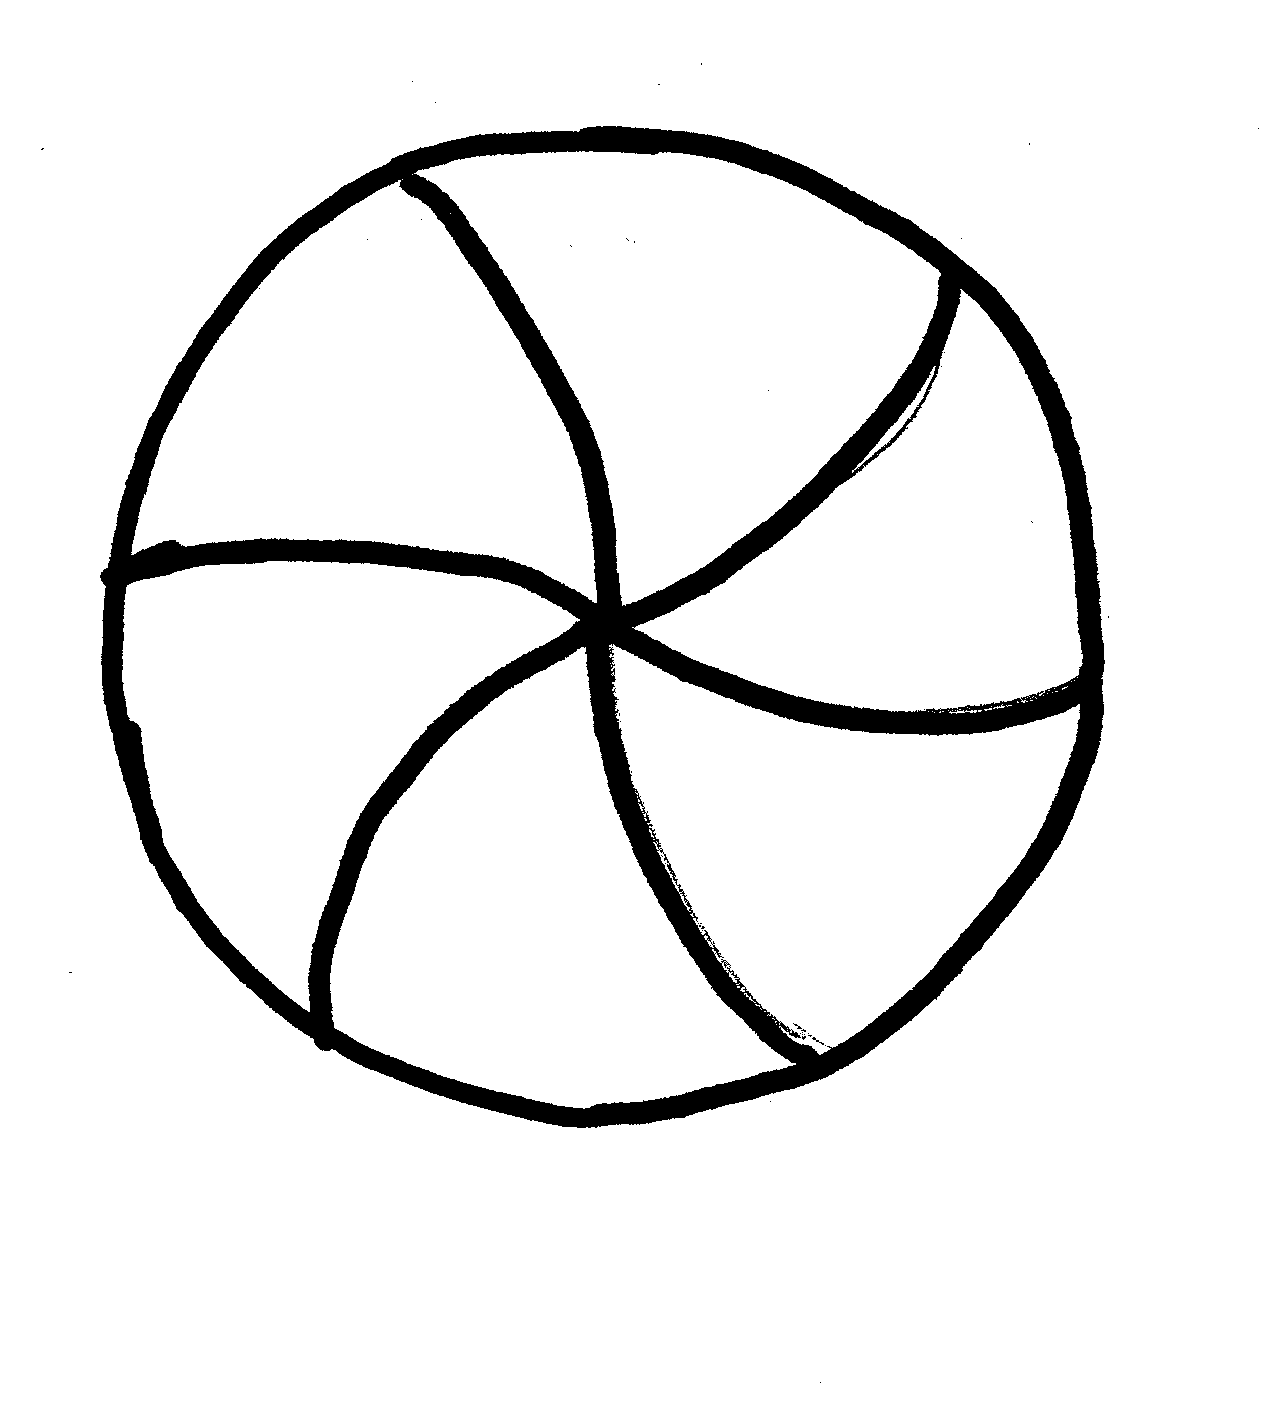
 Using a pencil, draw very light lines on one side of the disk as pictured. You will be drawing six curved lines.
 - Once the lines are drawn on one side of the disk, continue them onto the side of the ornament. Then, draw the same lines onto the back but be sure they line up with the lines on the side.
- You now have six sections on each side of the disk. On one side of the disk, paint every other section red. You will have a pattern of alternating red and white sections. Let dry completely then continue the paint onto the corresponding side sections and then onto the other side of the disk. Once dry, apply another coat of paint if necessary then let dry completely.
- Paint white dots on the red sections. An easy way to do this is to dip the end (not the bristle end) of a paint brush into white paint then touch it to where you want the dot. Reload the paint after every one or two dots. Paint a big white dot in the center of the peppermint where the swirls come together. Paint squiggly pink lines down the center of the white sections. Let both sides dry completely before continuing.
- Cut a 9" square of cellophane and wrap it around your peppermint cutting a small hole and threading the hanging string through the hole. Gather the extra cellophane on both sides of the peppermint and tie each side with an 8" piece of thin ribbon as pictured.
Our green peppermint was made slightly different than the red and white one. I made four sections each of green and white instead of three each. While the green paint was still wet I sprinkled Glamour Dust (a very fine glitter) on it then made a big red dot in the middle of the ornament and little red dots on the white and finally tied the cellophane with gold ribbon.
