Description
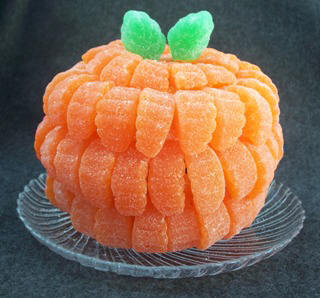
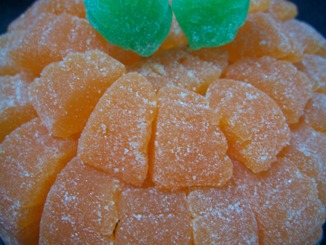
Crafting a pumpkin from orange slice gumdrops, toothpicks and a Styrofoam ball is a great way to keep the kids entertained and results in a beautiful centerpiece you'll just want to eat up.
Approximate finished size is 5 1/2" tall.
Materials and Supplies
Craft Supplies:
- Orange slice gumdrops *
- 2 Spearmint leaves aka green gumdrops that look like leaves
- Aluminum foil
- Toothpicks, approximately 35
- 4" Styrofoam ball
* Our sample used 65 orange slices (33 oz). However the number needed will vary depending on how close or far you place them.
Tips:
- Place a piece of foil or wax paper on your work surface. It will help keep your gumdrops clean and speed up the clean up time.
- A good way to cut the toothpicks is to hold you hand over the toothpick and cut it with a pair of scissors. Your hand should keep it from flying across the room.
Craft Instructions
- Flatten the bottom of the Styrofoam ball by pressing it down on a flat surface.
- Cover the Styrofoam with foil.
- Cut a toothpick in half. Insert the cut end of the toothpick into the flat side of an orange slice gumdrop about 1/4" from one end.
- With the foil covered Styrofoam ball flat on your table, place the pointed end of the toothpick into the Styrofoam so that the bottom of the orange slice is even with the bottom of the Styrofoam ball.
- Continue adding orange slices as you did in steps 3 and 4 until you have a row all around the bottom of the Styrofoam ball. You should place the orange slices close together so that you do not see the foil. It's ok if a little shows through.
- Once your first row of gumdrops is complete, start a second row above the first row. These gumdrops should slightly overlap the row below.
- Create a third row above the second row with the gumdrops overlapping the previous row.
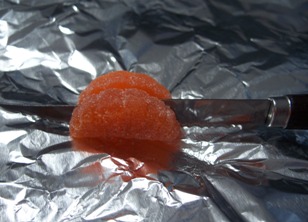
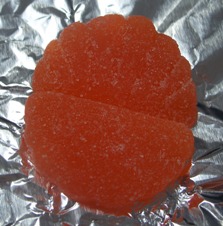
- Once you have made three rows, there will still be an unfinished area on the top. To cover this area, cut one orange slice in half lengthwise. Lay it down flat on the top center with the two straight edges touching. It should form a circle. You do not need to secure this piece with toothpicks as it will be secured by the leaves.
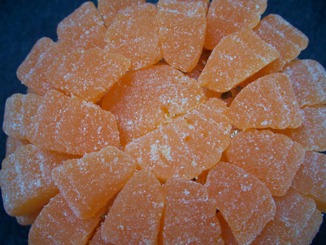
- The last row will be made with half gumdrops and will be place between the third row and the one you placed flat on top. Cut six gumdrops in half crosswise (across in the shorter direction)
- Insert a cut toothpick into one of the cut gumdrop pieces along the flat edge.
- Stick the other end of the toothpick into the Styrofoam so that the cut edge is facing the third row of gumdrops and the narrow end is slightly overlapping the flattened center gumdrop.
- Continue around until the foil covered ball is covered in gumdrops. You many not need all the gumdrop pieces you cut or you may need more depending on your spacing.
- Place one full toothpick into the end of each of the two spearmint leaf gumdrops (green gumdrops).
- Insert the other end of each of these toothpicks into the top of the completed pumpkin going straight through the flattened top gumdrop.
 |
 |
 |
 |